How to install an eSIM on Android

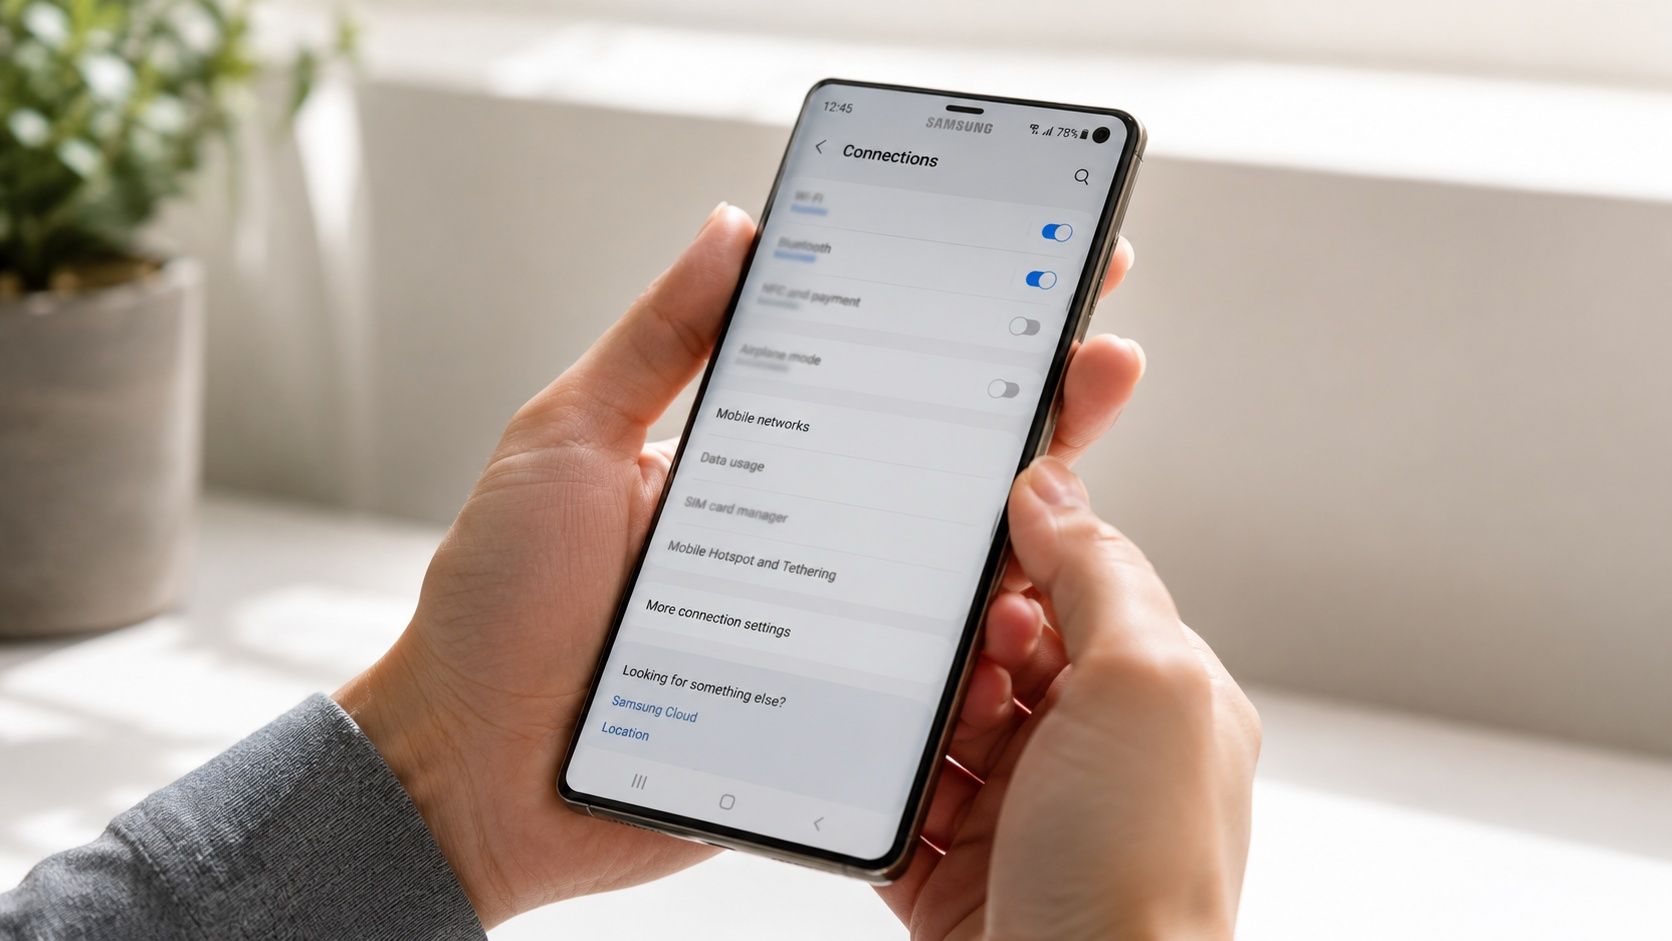
Open your SIM settings (Settings → Connections → SIM Manager on Samsung, Settings → Network and Internet → SIMs on Pixel), scan the QR code from your SpeedySim email, set the eSIM as your mobile data line and turn on data roaming for it. The whole install takes about two minutes over Wi-Fi. Every step for both Samsung and Pixel, and the fixes for the common snags, below.
Which Android phones support eSIM?
Not sure about your exact model? Check our device compatibility guide.
Before you start
- Check your phone has eSIM hardware: Dial
*#06#to display your device info. If it shows an EID number (a long digit string), your phone has eSIM hardware. - Check your phone is unlocked: A carrier-locked phone can't install a third-party eSIM. Contact your carrier to request an unlock first.
- Have Wi-Fi ready: You'll need an internet connection to download the eSIM profile. Do this at home before your trip, not at the airport.
Steps for Samsung Galaxy
- Open your SIM settings. Go to Settings → Connections → SIM Manager.
- Add the eSIM. Tap Add eSIM.
- Approve the permission prompt. If Samsung asks for permission to manage eSIMs, approve it. This prompt only appears the first time.
- Scan your QR code. Select Scan QR Code and point your camera at the QR code from your SpeedySim email.
- Download the profile. Tap Download and wait for it to install. Keep the screen on and stay connected to Wi-Fi during this step.
- Label the line. Something like "SpeedySim Travel", then confirm.
- Set the eSIM as your data line. Go to Settings → Connections → SIM Manager → Mobile Data and select the eSIM.
- Turn on Data Roaming for the eSIM. Tap the eSIM line and turn Data Roaming on. Without this, the eSIM shows signal but delivers no data.
Steps for Google Pixel and stock Android
- Open your SIM settings. Go to Settings → Network and Internet → SIMs.
- Add the eSIM. Tap the + icon or Add SIM.
- Choose to download. Select Download a SIM instead, then tap Next.
- Scan your QR code. Point your camera at the QR code from your SpeedySim email.
- Download the profile. Tap Download and wait for installation to complete.
- Set the eSIM as your data line. When asked which line to use for mobile data, select the eSIM. Keep your physical SIM as the default for calls and texts.
- Confirm Roaming is on. Go back to Settings → Network and Internet → SIMs, tap the eSIM line and confirm that Roaming is turned on.
What if the QR code is on the same phone?
SpeedySim sends your QR code by email. If you open that email on the Android phone you're setting up, you can't scan the code with the camera. Two options:
- Direct installation link (easier): Tap the link in your SpeedySim email. On Pixel 4 and newer and Samsung S21 and newer, it opens the eSIM setup screen automatically, no scanning needed.
- Manual entry: Contact support with your order number for the manual activation details (an SM-DP+ address and activation code). On Samsung: Settings → Connections → SIM Manager → Add eSIM, then choose Enter Activation Code manually. On Pixel: Settings → Network and Internet → SIMs → + → Download a SIM, then select Enter it manually. Type in the details support sends you.
When does your plan start?
Installing the eSIM and starting your plan are two different things. You can install the eSIM at home days before your trip. Your plan validity only begins when you first use data in a covered country.
Installing early costs you no plan time. One less thing to think about before you fly.
Frequently asked questions
- The fastest check: open Settings and search for "eSIM", or look under Settings → Network and Internet → SIMs (Pixel) or Settings → Connections → SIM Manager (Samsung). If you see an Add eSIM or Download a SIM option, your phone supports it. You can also dial
*#06#: a phone with eSIM hardware will display an EID number alongside the IMEI.
- The fastest check: open Settings and search for "eSIM", or look under Settings → Network and Internet → SIMs (Pixel) or Settings → Connections → SIM Manager (Samsung). If you see an Add eSIM or Download a SIM option, your phone supports it. You can also dial
- Almost always one of two things. First, check that Data Roaming is on for the eSIM line: Settings → Connections → SIM Manager → tap the eSIM → Data Roaming on (Samsung) or Settings → Network and Internet → SIMs → tap the eSIM → Roaming on (Pixel). Second, check that the eSIM is set as the Mobile Data line and not your home SIM. Still stuck? Work through our signal-but-no-data fix guide.
- Yes. Keep your physical SIM as the default for calls and texts, and set the eSIM as the Mobile Data line. Both run simultaneously. Your home number stays reachable while the eSIM handles all internet traffic.
- Try opening the link in Chrome or Samsung Internet rather than a third-party browser. Some browsers don't support eSIM activation links. If it still doesn't trigger, use the manual entry method: contact support with your order number for the manual activation details (an SM-DP+ address and activation code), then enter them directly in the eSIM setup screen.
- Some regional Samsung variants, particularly older S20 models sold in specific Asian markets, shipped without eSIM hardware despite the model number suggesting otherwise. Dial
*#06#and look for an EID number. If no EID appears, the device doesn't have eSIM capability regardless of the model name.
- Some regional Samsung variants, particularly older S20 models sold in specific Asian markets, shipped without eSIM hardware despite the model number suggesting otherwise. Dial
- Samsung: Settings → Connections → SIM Manager → tap the eSIM line → Delete or Remove. Pixel: Settings → Network and Internet → SIMs → tap the eSIM line → Delete. Deleting is permanent: the QR code cannot be reused. If you want to keep the profile but turn it off between trips, toggle the eSIM line off rather than deleting it.
Phone ready? Find the eSIM plan for your destination and you're set before you board.
- Samsung: Settings → Connections → SIM Manager → tap the eSIM line → Delete or Remove. Pixel: Settings → Network and Internet → SIMs → tap the eSIM line → Delete. Deleting is permanent: the QR code cannot be reused. If you want to keep the profile but turn it off between trips, toggle the eSIM line off rather than deleting it.