How to install an eSIM on iPhone

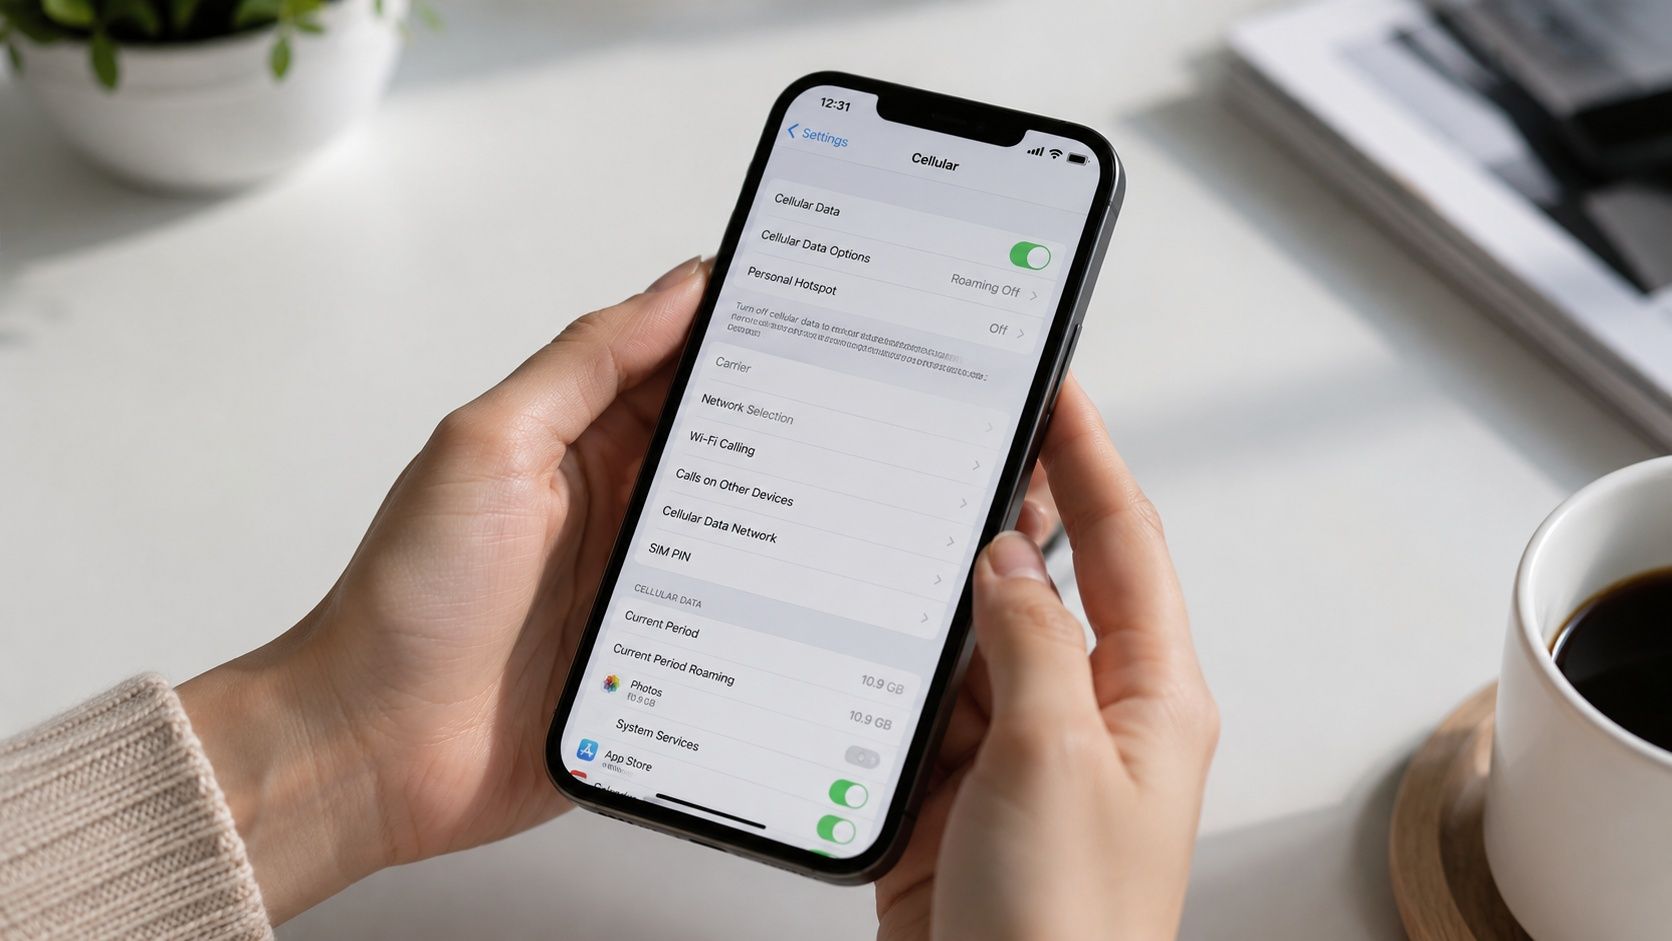
Go to Settings → Mobile Data → Add eSIM, scan the QR code from your SpeedySim email, keep your home SIM as your default line, set cellular data to the eSIM and turn on data roaming for it. The whole install takes about two minutes over Wi-Fi. Every step, and the fixes for the common snags, below.
Before you start
- Check your phone is unlocked: Go to Settings → General → About and look for SIM Lock or Network Provider Lock. It should say "No SIM restrictions." If it shows a carrier name, contact that carrier to request an unlock before buying an eSIM.
- Have Wi-Fi ready: You'll need an internet connection to download the eSIM profile. Do this at home before your trip, not at the airport.
- Update iOS: Installation occasionally fails on older iOS versions. Go to Settings → General → Software Update and install any pending update first.
Installation steps
- Open your eSIM settings. Go to Settings → Mobile Data (Cellular on some iPhones).
- Add the eSIM. Tap "Add eSIM" or "Add Cellular Plan".
- Scan your QR code. Tap "Use QR Code" and scan the code from your SpeedySim email.
- Confirm. Tap Continue, then Add Cellular Plan.
- Label the line. Something like "SpeedySim Travel" so you can spot it easily.
- Keep your home SIM as your Default Line. This keeps your regular number active for calls and texts.
- Set Cellular Data to the eSIM. This routes your data through the travel plan.
- Turn on Data Roaming for the eSIM. Go to Settings → Mobile Data, tap the eSIM line and turn Data Roaming on. This is the step most people miss. Without it, the eSIM shows signal but delivers no data.
What if the QR code is on the same phone?
SpeedySim sends your QR code by email. If you open that email on the iPhone you're setting up, you can't scan the code with the camera. Two options:
- Direct installation link (easier): Tap the link in your SpeedySim email. It opens the eSIM setup screen automatically, no scanning needed.
- Manual entry: Contact support with your order number for the manual activation details (an SM-DP+ address and activation code), then tap "Enter Details Manually" on the eSIM setup screen and type them in.
When does your plan start?
Installing the eSIM and starting your plan are two different things. When you scan the QR code and add the cellular plan, the profile is on your phone. Your plan validity doesn't begin until you first use data in a covered country.
You can install a 15-day Japan eSIM three days before your flight. Your 15 days begin when you first use data in Japan. Installing early costs you nothing. One less job before you fly.
Frequently asked questions
- All iPhones from the XR and XS onwards (2018 and newer) support eSIM. This covers every iPhone 11, 12, 13, 14, 15 and 16, and the iPhone SE from the 2nd generation. iPhone X and older don't support eSIM. iPhone 14 and later models sold in the United States have no physical SIM tray and use eSIM only. Not sure about your exact model? Check our device compatibility guide.
- Yes, you'll need an internet connection to download the eSIM profile. Install it at home over Wi-Fi. If you're already abroad without data, you can use airport or café Wi-Fi, but doing it at home before your trip is simpler.
- Almost always one of two things. First, check that Data Roaming is on: Settings → Mobile Data → tap the eSIM line → Data Roaming on. Second, check that Cellular Data is set to the eSIM line, not your home SIM. Still stuck? Work through our signal-but-no-data fix guide.
- Yes. Contact support with your order number for the manual activation details (an SM-DP+ address and activation code), then tap "Enter Details Manually" on the eSIM setup screen and enter them. If the QR code is on the same phone you're installing to, the direct installation link in your email is usually the quicker route.
- No. Installing an eSIM adds a second line to your iPhone. It doesn't affect your physical SIM, contacts, apps or any stored data.
- Go to Settings → Mobile Data, tap the eSIM line and scroll down to Remove Cellular Plan. Note: removing it is permanent. The QR code cannot be used again to reinstall the same plan. If you want to pause rather than delete, turn the eSIM line off in Settings without removing it.
Phone ready? Find the eSIM plan for your destination and you're set before you board.
- Go to Settings → Mobile Data, tap the eSIM line and scroll down to Remove Cellular Plan. Note: removing it is permanent. The QR code cannot be used again to reinstall the same plan. If you want to pause rather than delete, turn the eSIM line off in Settings without removing it.


Landing in a new city?
Get your eSIM sorted before you touch down